Learn how to paint trim after walls are painted with this step-by-step guide. Discover tips for achieving a professional finish and the best tools to use.
Painting walls and trim can give a room a fresh, new look. However, painting trim can be more challenging, especially if you’ve already painted the walls. Whether you’re a DIY enthusiast or a professional painter, knowing the right techniques and tools is important to ensure a smooth and even finish.
This article will discuss how to paint trim after walls are painted, including the preparation, tools, and techniques you need to know to achieve a professional-looking finish. So, whether you want to add a pop of color or freshen up your space, read on to learn how to paint your trim like a pro.
An Instructional Tutorial for Painting Trims
Follow this straightforward step-by-step instruction whether you’re painting trims for the first time or want to learn how expert painters do it to do a better job.
Step 1: Get the location ready
Before painting the trim, it is essential to prepare the area properly. Start by removing furniture, fixtures, or other items from the walls and floors. Use painter’s tape to mask any areas you don’t want to be painted, such as windows, baseboards, or door frames.
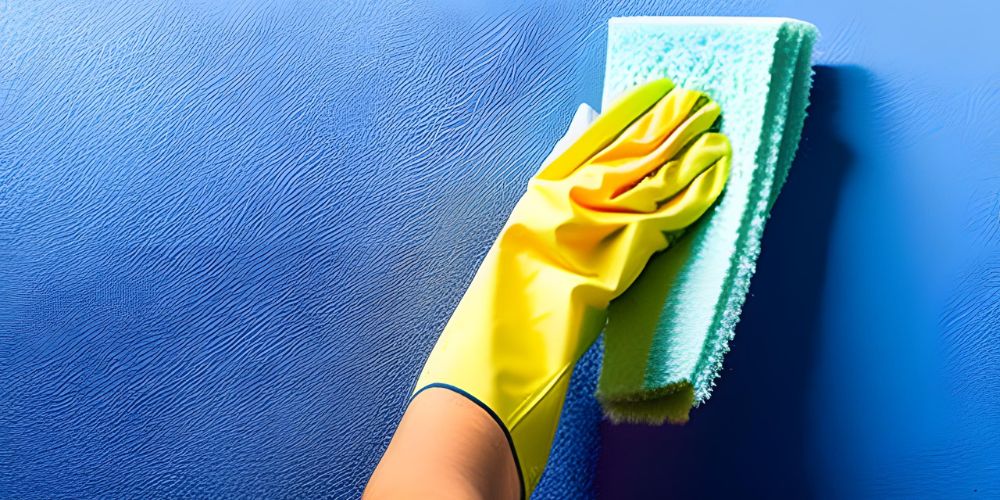
Next, examine the trim to ensure it’s clean, dry, and in good condition. Sand any rough spots or imperfections with sandpaper, and wipe the trim down with a damp cloth to remove dust or debris. This will help the paint adhere to the surface and ensure a smooth finish. Once the area is properly prepared, you can move on to the next step of painting the trim.
Step 2: Sand the trims down
To achieve a smooth and even paint finish on your trims, it’s important to sand them down before painting. Start by using fine-grit sandpaper to sand the trims gently. This will help remove any existing paint, dirt, or grime and smooth out any rough spots or imperfections on the surface.
Be sure to sand the trims evenly and consistently, applying light pressure and using long, smooth strokes.
Once you’re finished sanding, use a clean, damp cloth to wipe down the trims and remove any dust or debris.
Step 3: Use wood filler to repair the dents and fractures
Step 3 of painting trims involves filling in cracks, gaps, or dents with wood filler. This step is crucial to ensure a smooth, even surface for painting. Use a putty knife to apply a small amount of wood filler onto the damaged area. Then, smooth it out evenly and ensure it’s level with the surrounding surface.
Allow the filler to dry completely per the manufacturer’s instructions before sanding it down with fine-grit sandpaper. Sanding will remove any excess filler and ensure the surface is smooth and ready for painting. Once done, clean the surface with a damp cloth and let it dry before proceeding to the next step.
Step 4: Re-sand the surface
Step 4 involves sanding the surface again to ensure it is smooth and ready for painting. Use fine-grit sandpaper and wipe down the trim with a damp cloth after sanding.
Step 5: Prime the trims
Before painting the trims, it’s important to prime them first. This will ensure better adhesion and a smoother finish. Apply a coat of primer evenly on the trims using a paintbrush or a sprayer. Let it dry completely before moving on to the next step. Remember, using a primer can also help cover up any imperfections or stains on the trims, giving you a better base for the final coat of paint.
Choose a primer specifically designed for the type of paint you’ll be using, and make sure it’s suitable for the material of the trims.
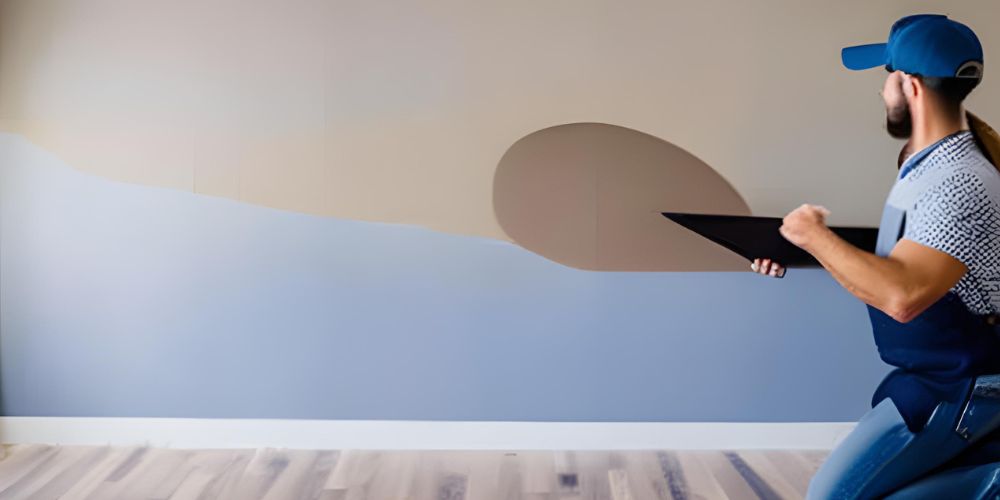
Step 6: Apply the final topcoat
Being careful not to apply too much paint in one area to avoid drips and runs. If necessary, wait for the first coat to dry completely before applying a second coat. Once you finish the final coat, let it dry for a few hours before touching the trims or applying any tape.
Guidelines for Neatly Painting the Trims
- Use painter’s tape to protect adjacent surfaces from accidental brush strokes.
- Use a high-quality angled brush to reach tight corners and create clean lines.
- Use a small foam roller for larger, flat surfaces for a smoother finish.
- Avoid overloading the brush with paint to prevent drips and messes.
- Always paint with a steady hand, start from the top, and work your way down.
- Let the paint dry completely before applying a second coat or removing the tape.
- Take your time and work carefully to achieve a neat and professional-looking result.
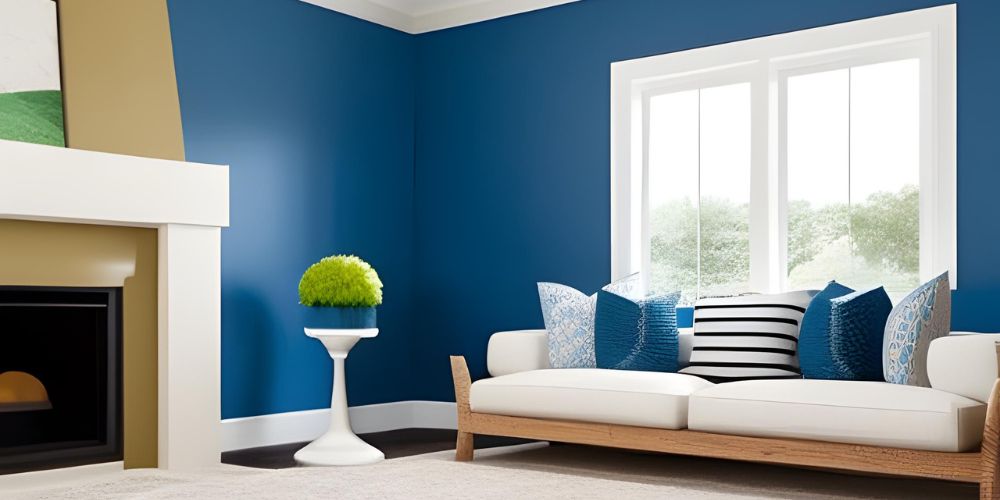
Let professionals handle the painting project at your home
Hiring professional painters can save you time, energy, and hassle when it comes to painting. At Adria Painting, we offer top-notch painting services catering to your needs. Our team of skilled painters uses the best quality materials and equipment to ensure that your home’s painting project is completed to perfection.
By hiring us, you can have peace of mind knowing that your painting project is in the hands of experts. We specialize in interior and exterior painting, wallpapering, and much more. With years of experience in the industry, we take pride in our artistry and always strive to exceed our client’s expectations.
Let Adria Painting handle your painting project and transform your home into a beautiful, welcoming space.